Regular maintenance is key to keeping your vehicle running smoothly, and one of the most important aspects of that is replacing your brake pads. Over time, brake pads wear down and become less effective, which can compromise your safety on the road – or off it In this blog post, we’ll walk you through the process of replacing the brake pads on your Mitsubishi 4×4. Whether you’re a seasoned mechanic or just starting out, we’ve got you covered with step-by-step instructions and helpful tips to make the process as easy as possible. Individual vehicle models may vary, but these instructions are designed to work with the vast majority of Mtisubishi 4x4s.
Before you begin changing your brake pads, you’ll need the following:
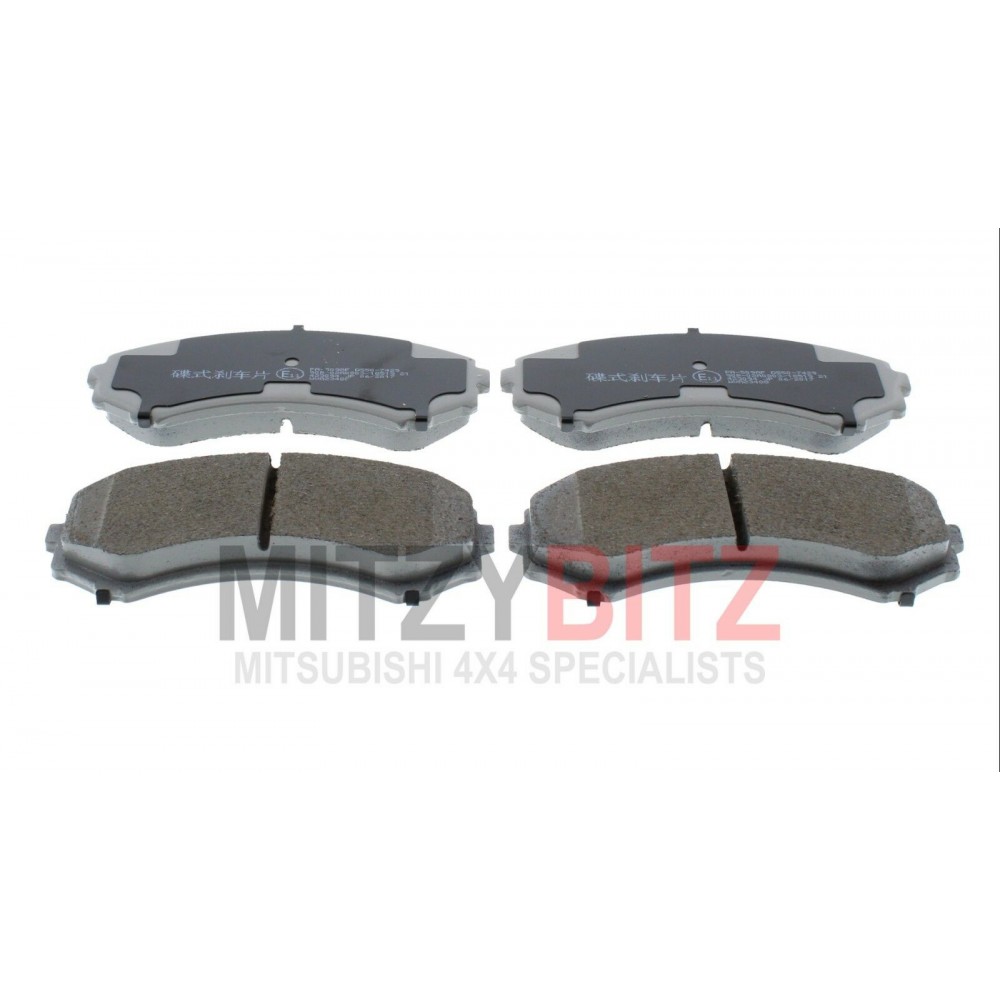
-New brake pads of the correct type
-Safety glasses
-Brake pad fitting kit (if applicable), New brake discs (if applicable)
-A Car Jack
-Copper Grease
-Protective Gloves
-Spanner
-G-Clamp
Warning: Brake pads are part of the brake system of your car and as such are safety critical parts. For this reason, all work must be carried out with the utmost care, and by persons competent to do so. Incorrect work may lead to total brake failure. Wear protective gloves and eye safety glasses at all times.
-Step 1 – Remove Your Wheel
Raise your car with a jack using your vehicle manufacturer’s recommended jacking points – see your vehicle handbook or Haynes manual. Ensure it is securely supported on a level surface. Place axle stands under the vehicle in addition to the jack for extra safety. Remove the wheels where you’re replacing the brake pads (front or rear).
-Step 2 – Remove the Guide Pin Bolt
Use one spanner to hold the guide pin, and unscrew and remove the guide pin bolt.
-Step 3 – Remove the Brake Pads
Unbolt the calipers and swing them free, then remove the clips holding the brake pads in place and remove the brake pads from their mounting bracket.
-Step 4 – Check the Brake Disc
Inspect the brake disc. If there’s any scoring, you need to get that replaced too.
-Step 5 – Tighten the Clamp
Take the top off the brake fluid reservoir to give the pressure you create in the system somewhere to escape. Keep a careful eye on the fluid level as you tighten the clamp – overflowing could be dangerous. See your vehicle handbook or Haynes Manual for more details.
-Step 6 – Apply Grease
Apply a little copper grease to the edges and backs of the new brake pads. Avoid touching the friction linings.
-Step 7 – Fit Brake Pads
Fit the new brake pads into the mounting bracket and push the calipers back into place so they can slip back over the new, thicker pads. A G-clamp, applied gently, is ideal for this. Then refit and secure the caliper.
-Step 8 – Test Brake Pads
When you’ve done both sides, press the brake pedal a few times to bring the brake pads up to the disc, then check and top up the brake fluid level if necessary.
Now your new brake pads should be good and ready to go, ensuring your safety on the road and prolonging the life of your vehicle. Regular maintenance is essential to keep your 4×4 running smoothly, and by following the steps outlined in this blog post, you’ve taken an important step towards keeping your vehicle in top condition. Remember to always follow the manufacturer’s recommendations for maintenance and consult with a professional if you encounter any issues.
Enter your reg or vin to see our full range of 4×4 parts, including brake pads here.
For more information regarding the brake pads for your vehicle, please don’t hesitate to contact us and our team will be happy to help.
No responses yet